Testing out Chalk Paint
With all the new hype about the new finishing techniques with chalk paint, I decided to try it out for myself and see what I think works well.... or if it works at all!!
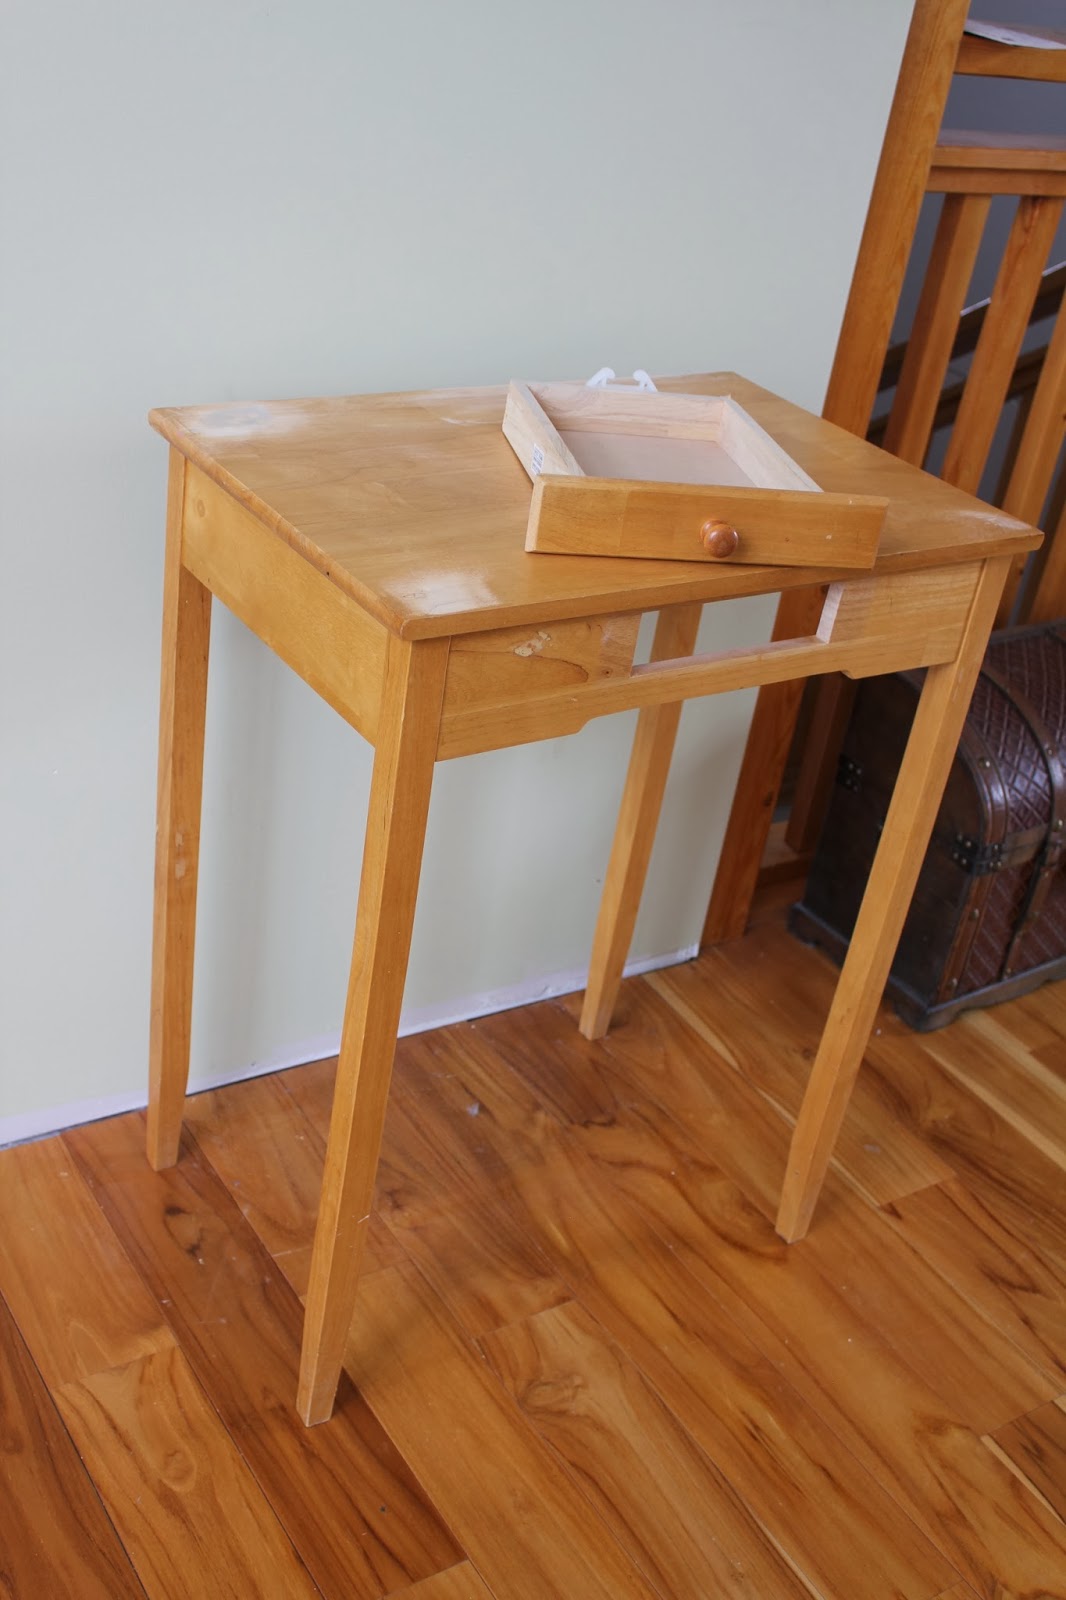
So the first thing I did was take a letter table that I picked up at a second hand store to try out refinishing. It had a plain finish on it with a little gloss so I thought that it would be perfect since this "chalk paint" thing says that it can paint on any surface... well... sure, if that's what they say! After filling the cuts and dings in it, I sanded it down so the surface was smooth.
Once the table was dried, I sanded the edges to reveal the wood and finish that was under the paint.
I would recommend using gloves as this next step with the wax is hard to remove from the skin. I used a scrap cloth and rubbed it over the entire surface of the table.
The wax gave the table a smoother finish and made the sanded edges show up a little more to show a rustic look. I added an iron handle which finished the table off well!
Be sure to let the item dry fully before you use it. I found the wax took about 2 days until I felt I should put something on it. I was very happy with the paint and the finish it produced and would use it again! Keep in mind that this paint is durable, but it doesn't make your item scratch resistant. Although, with most rustic pieces, it always adds charm to the items!
With all the new hype about the new finishing techniques with chalk paint, I decided to try it out for myself and see what I think works well.... or if it works at all!!
So the first thing I did was take a letter table that I picked up at a second hand store to try out refinishing. It had a plain finish on it with a little gloss so I thought that it would be perfect since this "chalk paint" thing says that it can paint on any surface... well... sure, if that's what they say! After filling the cuts and dings in it, I sanded it down so the surface was smooth.
I used a plastic container to mix the paint in so that I could just try it out first. I put about 2 cups of paint in and then added 1/2 cup of the non-sanded grout. After mixing well, there was still a slightly sanded texture to the paint, which is normal. The texture it added to the table was really nice and ended up adding an antique look to the table.
Once the table was dried, I sanded the edges to reveal the wood and finish that was under the paint.
I would recommend using gloves as this next step with the wax is hard to remove from the skin. I used a scrap cloth and rubbed it over the entire surface of the table.
The wax gave the table a smoother finish and made the sanded edges show up a little more to show a rustic look. I added an iron handle which finished the table off well!
Be sure to let the item dry fully before you use it. I found the wax took about 2 days until I felt I should put something on it. I was very happy with the paint and the finish it produced and would use it again! Keep in mind that this paint is durable, but it doesn't make your item scratch resistant. Although, with most rustic pieces, it always adds charm to the items!


Comments
Post a Comment